
Masterclass with Queen & Disco, Stalvart
Masterclass with Queen & Disco, Stalvart November 28 @ 4:00 PM – 6:00 PM Venue: Register Now
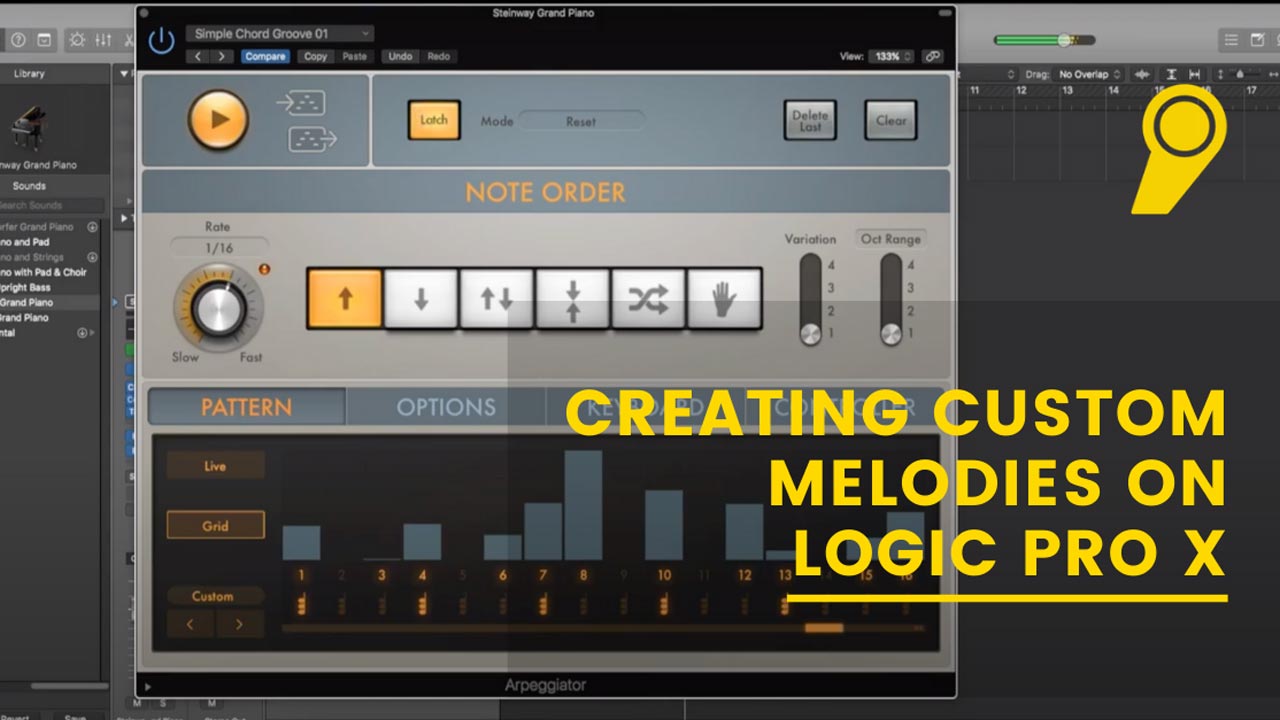
In this blog, we’re going to run through creating custom melodies using the arpeggiator in Logic Pro X. Let’s get started!
The first we’ll do is create a MIDI channel by hitting the ‘+‘ at the top right of your screen and then select ‘Create A Software Instrument’ or use the shortcut ‘Option+Cmd+S’ . Load an instrument of your choice. I’m using a simple piano sound for this example.
The next step is to click on MIDI effects tab and load the arpeggiator MIDI effect. Choose a random preset or set your own arp setting manually and start playing with a few chords to get a nice arpeggiation going. Once you’re happy with the way everything sounds, head back to the arpeggiator MIDI effect and hit on latch. When ‘latch’ is on, the arpeggiator will keep running in the background. So you can let go of the keyboard.

If you want to use the MIDI information that the arp is currently playing, pause the arpeggiation and just drag the ‘MIDI Out’ to your arrangement view. You can see all the notes being played in the arp. Be creative by moving, muting and arranging the notes the way you want.
Voila! You’ve got yourself a custom melody in Logic Pro! It’s that simple.
Stay up to date with the tips and tricks on Logic Pro X, follow us on Instagram and Facebook.
If you want to learn more in electronic music, consider signing up for one of our courses. Choose from a range of online & in-person programs and learn to make your own music.
Check out our courses here.
Masterclass with Queen & Disco, Stalvart November 28 @ 4:00 PM – 6:00 PM Venue: Register Now

Learn to make your own intro edits quickly & easily on Serato Studio.