Masterclass with Queen & Disco, Stalvart
Masterclass with Queen & Disco, Stalvart November 28 @ 4:00 PM – 6:00 PM Venue: Register Now
If you follow your favourite musicians on social media, it’s quite likely that you’ve seen some incredible studios where the magic happens. These studios often have the latest gear and are packed with expensive equipment.
While there’s no denying that any artist would love to have a range of MIDI controllers and instruments at their disposal; let’s face it, getting access to such a studio is a long-shot for most of us. At least for the time being.
But does being limited to our homes for the next couple of weeks mean music production has to take a back seat? I definitely don’t think so. In fact, I’ve produced some of my best work from the safety of my living room over the last year. Thanks to the abundance of gear, software & tutorials available online, you no longer have to rely on booking an expensive studio slot or stepping out. With the right gear & mentorship you’d be surprised how much you can do from home!
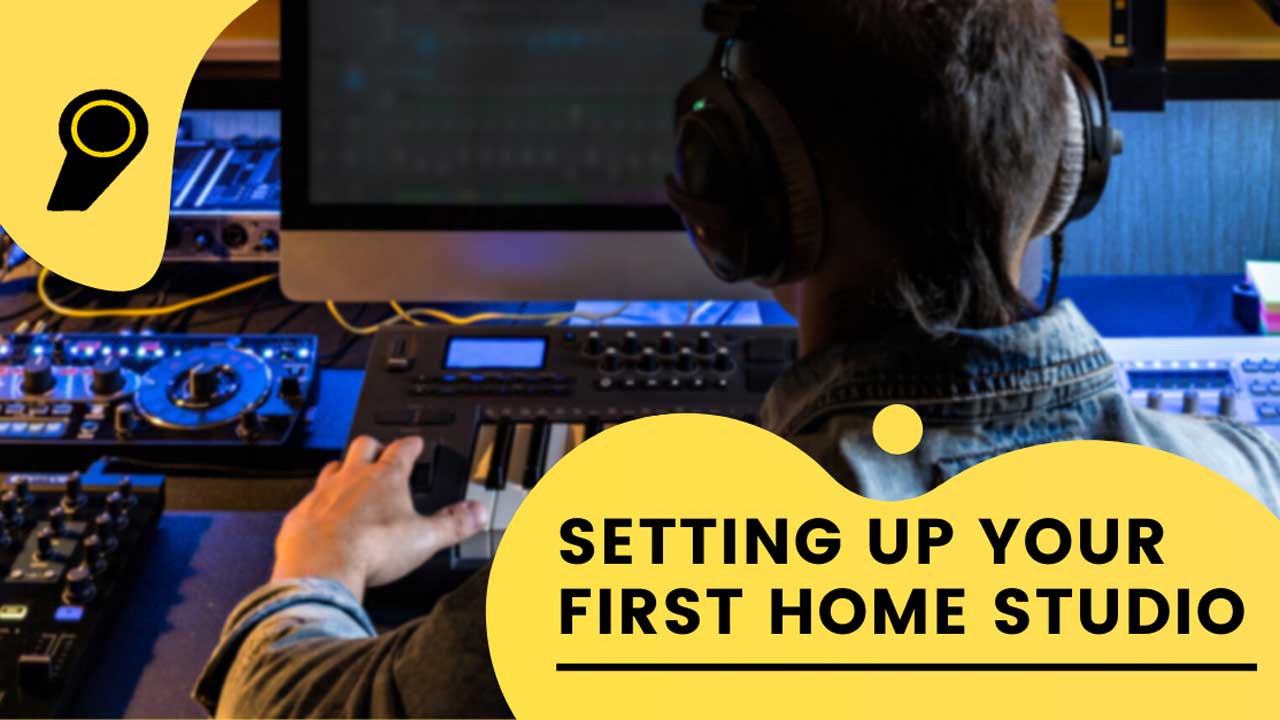
So today, we’re going to talk about setting up your first home studio. We’ll go over the essentials and I’ll also take you through my home set-up!
Let’s jump straight into it.
It goes without saying that the first thing you’ll need to get started with music production is a reliable computer. A laptop offers great versatility and can double as a mobile workstation for when you’re on the go. If you’re a DJ, it can also come in handy at gigs.
Your system will be the core of your home studio. So to get the best out of it, it’s best to make sure it meets the basic system requirements. I recommend investing in a device that comes with a minimum of 8GB RAM & an i5 processor. This configuration will ensure your device can support any Digital Audio Workstation (DAW) of your choosing and won’t give up on you when you’re building your projects.
Speaking of DAWs, that’s the next thing to check off on our list.
A DAW or Digital Audio Workstation is a software program used for composing, producing, recording, mixing and editing audio and MIDI. This along with your computer are the two most fundamental components of your studio.
When it comes to picking a DAW, you’re actually spoiled for choice.
There are a number of great options out there each with their own pros & cons. Based on what you’re comfortable with, you can work on Ableton, Logic Pro, Cubase or FL Studio. But the most popular choice by far, is Ableton.
The third item on your list, should be a MIDI instrument. A MIDI is a Musical Instrument Digital Interface. A MIDI is a great addition to any studio because it will help you record your musical ideas into your software. MIDIs are quite versatile and allow you to play around with different instruments and also modify parameters like pitch, duration etc on the fly.
I recommend you pick up a 16 key MIDI keyboard if you’re on a tight budget or are just getting started with music production. 16 keys gives you enough to play with, without overwhelming beginners.
These are also compact, which means they won’t occupy too much space in your studio & can also be used on the go.
If you’re already familiar with keyboards or have the money & would like to make a long-time investment, you could look at picking up a 49 key MIDI keyboard.
Next on the list is an audio interface. Audio interfaces convert microphone and instrument signals into a format your computer and software recognize. The interface also routes audio from your computer out to your headphones and studio monitors.
You’ll want to ensure you pickup an interface that gives you a minimum of two inputs and two outputs.
Finally, you’ll need to hear what you’re creating. For this you can choose between studio monitors or production headphones. You can also invest in both and be confident that you haven’t wasted your money.
If monitors are the obvious choice for you, I recommend you get started with 5inch monitors. These are compact and offer an accurate reproduction of your recording. Monitors are specifically designed for audio production, so learn to trust what’s coming out of them.
If you’re looking to go down the other route and pick up production headphones, there are a range of options available. Pick the ones in your budget from a reputed brand like AudioTechnica, Sennheiser or Pioneer DJ.
Now you’re all set!
We’ve covered everything you’ll need to get started with building your first home studio. Remember that it’s always work in progress and you have the option to upgrade or add details to your workstation as it grows.
As promised, I’m also going to run you through my home studio set-up. I’ve kept it simple and invested in equipment that meets my basic requirements.
To start off with, the foundation of my set-up is the Macbook Pro. It’s proved to be a great investment and a stable workstation. Next, I have a Impact Nektar gx 49. A simple no-nonsense controller, the MIDI does the job effortlessly/reliably with enough features onboard for speeding up everyday tasks.
I’ve been creating my music on Ableton and it’s definitely my DAW of choice. I’ve recently got my hands on the Ableton Live 11 and it’s a dream to work on. You can read my take on the daddy of all DAWs here.
While working on my tracks, I rely on the Yamaha HS 5 studio monitors to get accurate feedback on what the track sounds like.
So there you have it!
You’re now equipped with enough knowledge to form opinions and start setting up your studio! Go crazy and don’t forget to have a good time working on your music.
Masterclass with Queen & Disco, Stalvart November 28 @ 4:00 PM – 6:00 PM Venue: Register Now
Our top 3 MIDI controller recommendations for VJs
Learn to make your own intro edits quickly & easily on Serato Studio.
Ready to Get Started?
Leave us your details and we’ll get in touch soon.
UPCOMING EVENTS AND SPECIAL OFFERS
GET Monthly NEWSLETTERS